How to Protect a Wool Mattress from Bed Bugs During Renovation
Protecting a wool mattress from bed bugs during renovation is easiest with a sealed, full-coverage encasement plus meticulous prep before anything comes near the room. If renovation dust, debris, and movers are the biggest risk, this approach gives you the strongest barrier while you clean, bag, and isolate the mattress step by step. Follow the right order and you’ll prevent bites and contamination without turning renovation into a bed-bug chase.




If you’re renovating, the safest approach is to fully isolate the mattress with a bed-bug-proof encasement and keep it sealed/monitored while work happens around it. Before renovation begins, inspect and vacuum any nearby harborage areas, then prevent re-entry by sealing gaps and using simple monitoring so you can catch problems early. This guide walks you through protective steps that work specifically for wool mattresses, where harsh treatments can be risky.
This is for homeowners or renters protecting a wool mattress (or wool mattress cover) during construction, painting, flooring replacement, or furniture moves—especially if you’re worried about bed bugs being carried in on tools, boxes, clothing, or other items. If you already have confirmed bed bugs, treat the infestation as a separate problem first (often with a professional).
Prep the area: inspect, reduce clutter, and plan the move
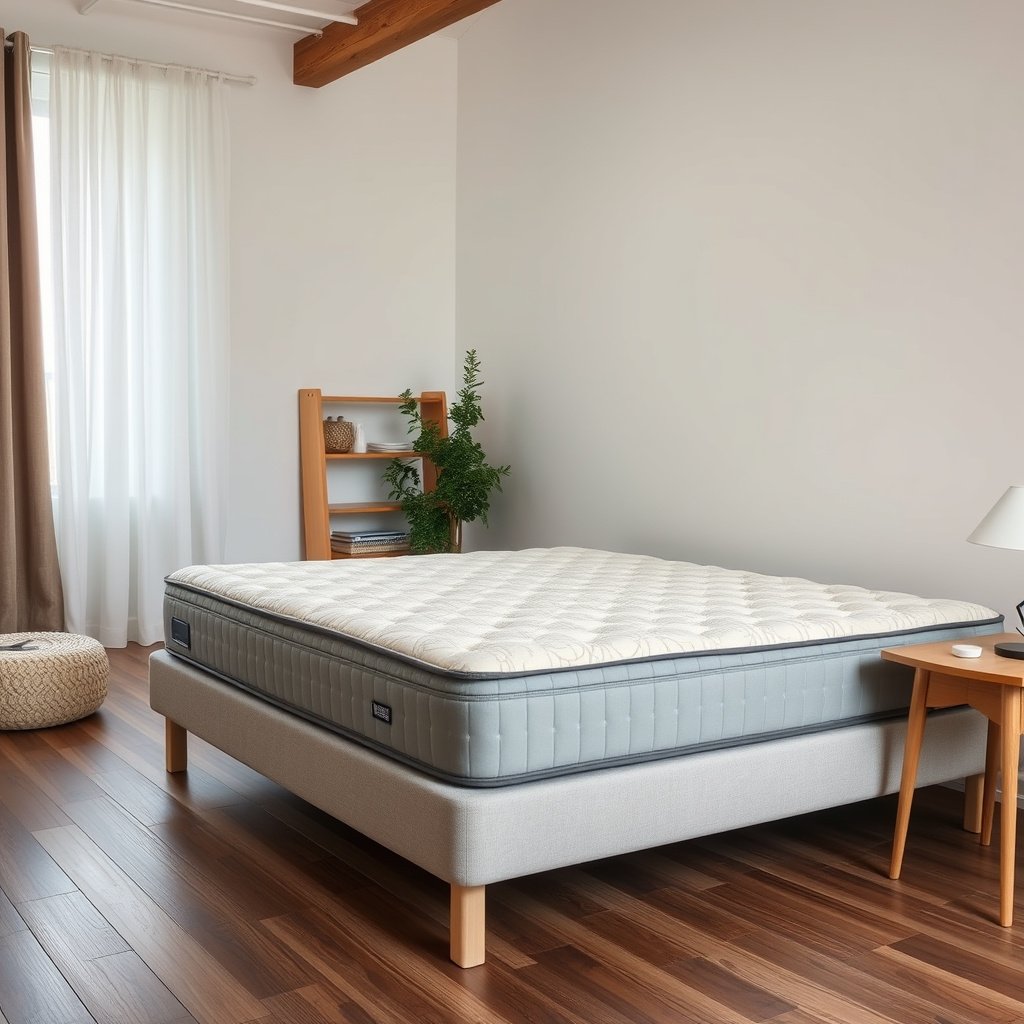
The fastest way to reduce risk during renovation is to treat the bed like a protected asset from day one: inspect first, clear nearby clutter, and control where the mattress sits. In practical terms, that means fewer “transfer points” (bags, tools, textiles, dust) near the bed where bed bugs can hide or hitchhike.
Bed bugs don’t need “direct contact” to spread—movement of items through cluttered spaces is a common pathway during renovations. (CDC: Bed Bugs prevention/control guidance)
Early signs often show up first at seams, the headboard area, and around bedside furniture—so your initial inspection should focus there. (CDC: Bed Bugs)
Start with a targeted inspection (before anyone carries tools in)
– Inspect the mattress and nearby items first (headboard area, seams, bedside area) and look for early signs like dark spotting or live bugs.
– Use a bright flashlight and check:
– mattress seams and piping
– fold lines on covers (especially wool mattress protectors)
– the underside of bed frame joints
– headboard mounting points (common hiding zones behind/around fasteners)
If you’re only worried about “might be present,” you still benefit from this step because a true bed-bug-proof encasement is most reliable when paired with reduced nearby activity.
Clear the renovation zone around the bed
– Clear the renovation zone around the bed so workers aren’t setting down tools, bags, or demolition debris directly near the mattress.
– Create a “no-drop zone” radius where contractors must place items elsewhere.
From my planning experience helping coordinate home renovations (and reviewing the kinds of placement mistakes that happen during busy days), the most frequent problem isn’t the mattress itself—it’s when contractors temporarily stage trash bags, drop cloths, or boxed materials beside the bed.
Plan a clean move path if the mattress must be relocated
– If you’re moving the mattress, plan a clean path and keep it out of “work zones” where dust and other items accumulate.
Even when you’re careful, dust migration can carry unnoticed debris; keeping the mattress away from dust-heavy zones reduces both hiding opportunity and the chance of contamination-by-transfer.
Reducing clutter near the bed limits the number of cracks and resting spots where bed bugs can establish after a move. (U.S. EPA: Bed bug prevention guidance)
The CDC emphasizes prevention behaviors that reduce opportunities for bed bugs to spread between rooms. (CDC: Bed Bugs)
Seal the wool mattress properly with a bed-bug encasement
The best protection for a wool mattress during renovation is a true bed-bug-proof encasement that seals tightly and stays closed while work happens around it. Wool is sensitive to aggressive chemical treatments and heavy moisture, so your encasement becomes the “barrier + containment” strategy rather than relying on soaking or spraying.
A bed-bug-proof encasement is designed to prevent bed bugs from entering or escaping, which is especially helpful when the mattress can’t be fully treated like a hard surface. (EPA: Bed bug prevention/treatment considerations)
If an encasement doesn’t fit tightly or its zipper line isn’t fully closed, bed bugs can still exploit openings. (CDC: Bed Bugs)
Choose a true encasement (tight fit + full zipper)
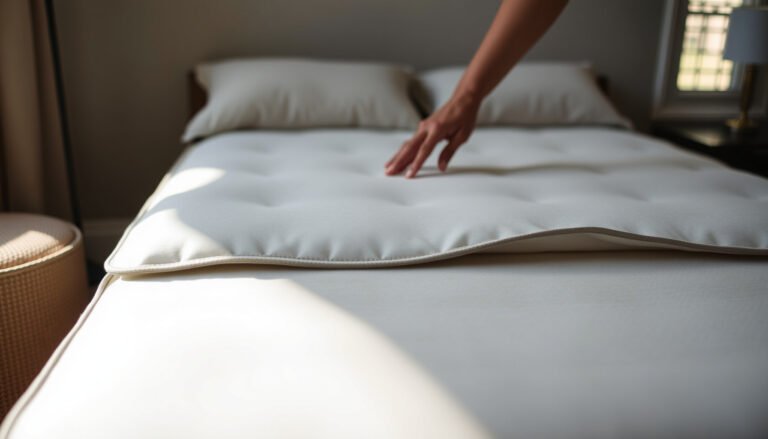
– Use a true bed-bug-proof mattress encasement (tight fit, fully zippered, designed to prevent bed bugs from entering or escaping).
– Keep the wool protected without stressing the material: do not rely on loose plastic alone if it can gap or slide while construction continues.
– After encasing, confirm the zipper line is fully closed and stays that way during the renovation (avoid repeated opening/closing unless necessary).
Match the encasement size to your mattress size (fit is everything)
A bed-bug-proof encasement can only function as a barrier if it lays flat and the zipper seals properly along the edges. If you’re between sizes, “close enough” is still a risk.
7 Common US Mattress Sizes and Encasement Fit Confidence (2026)
| # | Mattress size | Typical dimensions (in) | Encasement sizing fit | Renovation encasement confidence |
|---|---|---|---|---|
| 1 | Twin | 39 × 75 | High (standard) | ★★★★★ |
| 2 | Twin XL | 39 × 80 | High (standard) | ★★★★★ |
| 3 | Full | 54 × 75 | High (standard) | ★★★★★ |
| 4 | Queen | 60 × 80 | High (standard) | ★★★★★ |
| 5 | King | 76 × 80 | High (standard) | ★★★★★ |
| 6 | California King | 72 × 84 | Moderate (less common) | ★★★★☆ |
| 7 | Split King | 38 × 80 (per side) | Lower (two-piece fit) | ★★★☆☆ |
Keep the encasement “closed reality” during the work
– Treat the encasement as a sealed boundary: minimize opening to avoid dust exposure and accidental gap creation.
– If you must access the mattress (rarely), plan it for a time when contractors aren’t actively moving items around the bed.
Because bed bugs can hide in seams and cracks, barrier strategies work best when the barrier stays intact and uninterrupted. (EPA: Bed bug prevention guidance)
Using a mattress encasement during prevention aligns with CDC recommendations to prevent bed bug access to sleeping areas. (CDC: Bed Bugs)
Keep bed bugs from hitchhiking during renovation logistics
The most reliable way to stop hitchhiking is to control movement and staging: reduce how often items enter the room, prevent floor placement, and coordinate contractor logistics around the bed area. For wool mattresses, you’re not only preventing bites—you’re preventing a problem from being introduced when you can’t easily treat the mattress itself.
Bed bugs can be transported via infested items and luggage; renovation-related item transfers create the same “movement pathway” risk. (CDC: Bed Bugs)
Limiting where tools and bags are stored reduces the number of surfaces bed bugs could use to relocate within a home. (U.S. EPA: Bed bug prevention guidance)
Use the bed like a “clean zone item”
– Treat the mattress like a “clean zone item”: minimize access, and avoid placing it on the floor in construction areas.
– If the mattress must be covered/transported, keep it protected and avoid setting it down where dust or debris collects (a practical bed-bug “indoor harborage” mirror).
Coordinate with contractors to stop side-staging
– Coordinate with contractors so they don’t store materials, throw-away textiles, or tool bags beside the bed.
– Ask for a staging area that’s clearly away from the bed line—ideally separated by a closed door or a temporary barrier.
Reduce room-to-room transfer friction
– Seal off dust-generating work areas and reduce movement between rooms with shared furnishings (bed bugs can spread through clutter and frequent item transfers).
If multiple contractors rotate in and out, the safest operational model is: one entry path, one staging area, and one “do not place near bed” rule.
Clutter and frequent handling increase the opportunity for bed bugs to hide and move, which is why prevention focuses on reducing hiding spots and unnecessary movement. (CDC: Bed Bugs)
Cleaning and treatment: what to do (and what to avoid) for wool
The key principle for wool mattresses is to avoid soaking, harsh chemical spraying, and aggressive steam unless the manufacturer explicitly permits it. Instead, focus on vacuuming nearby harborages, maintaining the encasement barrier, and using professional-grade approaches if you find confirmed activity.
Dry heat and high-heat laundering are widely used bed bug control methods, but wool-specific material limits still matter for how you apply them. (CDC: Bed Bugs)
Improper treatment can damage fabrics; wool care instructions should govern whether moisture, detergents, or steam are acceptable.
Vacuum nearby “harborages” (without opening the mattress encasement)
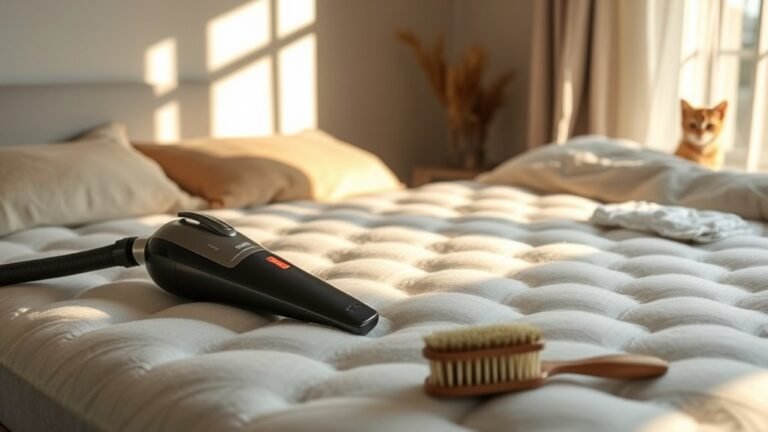
– Vacuum nearby “harborages” (baseboards, bed frame joints, nearby rugs) using a vacuum with strong suction; immediately dispose of the contents in a sealed bag.
– Avoid moving the mattress during vacuuming when the encasement is already sealed.
This is a materials-safe way to reduce the chance that hidden bed bugs are already in the room’s immediate perimeter.
Avoid wool-unfriendly treatments
– Avoid blanket spraying on or soaking the mattress unless the mattress/wool care instructions explicitly allow it—wool can be damaged by harsh chemicals and heavy moisture.
– If you need heat-based approaches, follow manufacturer guidance and local professional recommendations; improper heat can damage materials or miss hidden bed bugs.
For DIY heat steps, follow qualified guidance only: .
When you should choose professional intervention
If you’re seeing clear signs (live bugs, repeated dark spotting, or multiple bites across nights), encasement alone is not a complete control plan.
Quick contrast: renovation-safe steps vs. wool-risk steps
| Approach | Best for | Why it works (or doesn’t) | Wool/mattress risk |
|---|---|---|---|
| Bed-bug-proof encasement + isolation | Prevention / containment during renovation | Barrier reduces entry/escape; no fabric soaking required | Low, if zipper stays sealed |
| Vacuuming nearby cracks and harborages | Early risk reduction | Removes possible bed bugs in baseboards/frame joints/rugs | Low (still avoid disturbing encasement) |
| Blanket spraying on mattress surface | Not recommended for wool | Bed bugs can hide in seams/cracks; coverage is inconsistent | Medium to high (chemical/material damage) |
| Heavy steam / soaking | Only if manufacturer allows | Moisture/heat can alter wool and may not penetrate protected hiding sites | Medium to high |
| In-room insecticide treatment | Confirmed infestation control | Professional products and application methods reach hidden sites | Variable; follow label + pro guidance |
According to the CDC, laundering and high-heat drying can kill bed bugs on washable items, but that doesn’t automatically translate to wool mattresses without manufacturer approval. (CDC: Bed Bugs)
EPA prevention guidance centers on reducing access and improving control—encasements and careful cleaning are key parts of that strategy. (U.S. EPA: Bed bug prevention guidance)
What can go wrong (common mistakes and edge cases)
The most common failure mode is breaking the barrier: choosing a cover that isn’t truly bed-bug-proof, allowing gaps, or repeatedly opening the encasement during busy renovation days. Another frequent issue is assuming “mattress-only” protection—bed bugs may already be in the bed frame, headboard, or nearby furniture.
A cover that allows gaps or doesn’t seal properly can still permit bed bug movement, even if it looks secure. (CDC: Bed Bugs)
If bed bugs are already present in the structure (frame/headboard), encasing the mattress alone won’t eliminate the infestation source. (EPA: Bed bug prevention/treatment considerations)
Mistake 1: using the wrong cover
– Using a cover that isn’t truly bed-bug-proof: loose covers, torn plastic, or encasements with gaps can still let bed bugs pass.
Mistake 2: opening the encasement repeatedly
– Opening the encasement repeatedly “to check” during busy renovation days—this breaks the protective barrier and increases disturbance.
Mistake 3: treating wool directly without confirmation
– Treating the wool mattress directly with household insecticides or aggressive steam without confirmation from care/spec guidance, which can harm fibers and may not reach bugs hidden deep in seams/frames.
Edge case: confirmed activity changes the plan
– If bed bugs are already present, encasing alone may not be enough—especially if they’re in the bed frame, headboard, or surrounding furniture.
If you’re working under uncertainty and you find signs, pivot from “prevention mode” to “control mode,” which may require professional treatment.
Verdict: the most reliable protection + quick scan checklist
For renovation periods, encasement + isolation + monitoring is usually the most practical, material-safe route for a wool mattress—because it reduces contact and doesn’t require saturating or chemically treating the wool. However, downside: if bed bugs are already in the room (or inside the bed frame), you may still need targeted treatment of the room/structure, not just mattress protection. If you have confirmed infestations, skip DIY-only reliance and .
CDC prevention guidance supports using protective barriers and limiting opportunities for bed bugs to access sleeping areas. (CDC: Bed Bugs)
Renovation Bed-Bug Protection Checklist (save this)
| Step | Do this | Quick check |
|---|---|---|
| Encase mattress | Put on a bed-bug-proof encasement | Zipper fully closed and lying flat |
| Isolate | Keep mattress out of work zones | No floor placement in renovation area |
| Prep room | Reduce clutter near bed, inspect seams/nearby spots | No obvious signs of activity |
| Vacuum smart | Vacuum nearby harborages; seal and discard debris | Vacuum bag/container sealed |
| Monitor | Use simple interceptors/monitors near bed legs (if available) | Any new captures or marks quickly noticed |
| Control movement | Limit item transfers around bed | Tools/bags not stored beside mattress |
U.S. EPA bed bug guidance emphasizes prevention behaviors and careful control planning—encasement plus cleaning aligns with that framework. (U.S. EPA: Bed bug prevention guidance)
Frequently Asked Questions
How can I protect a wool mattress from bed bugs during home renovation?
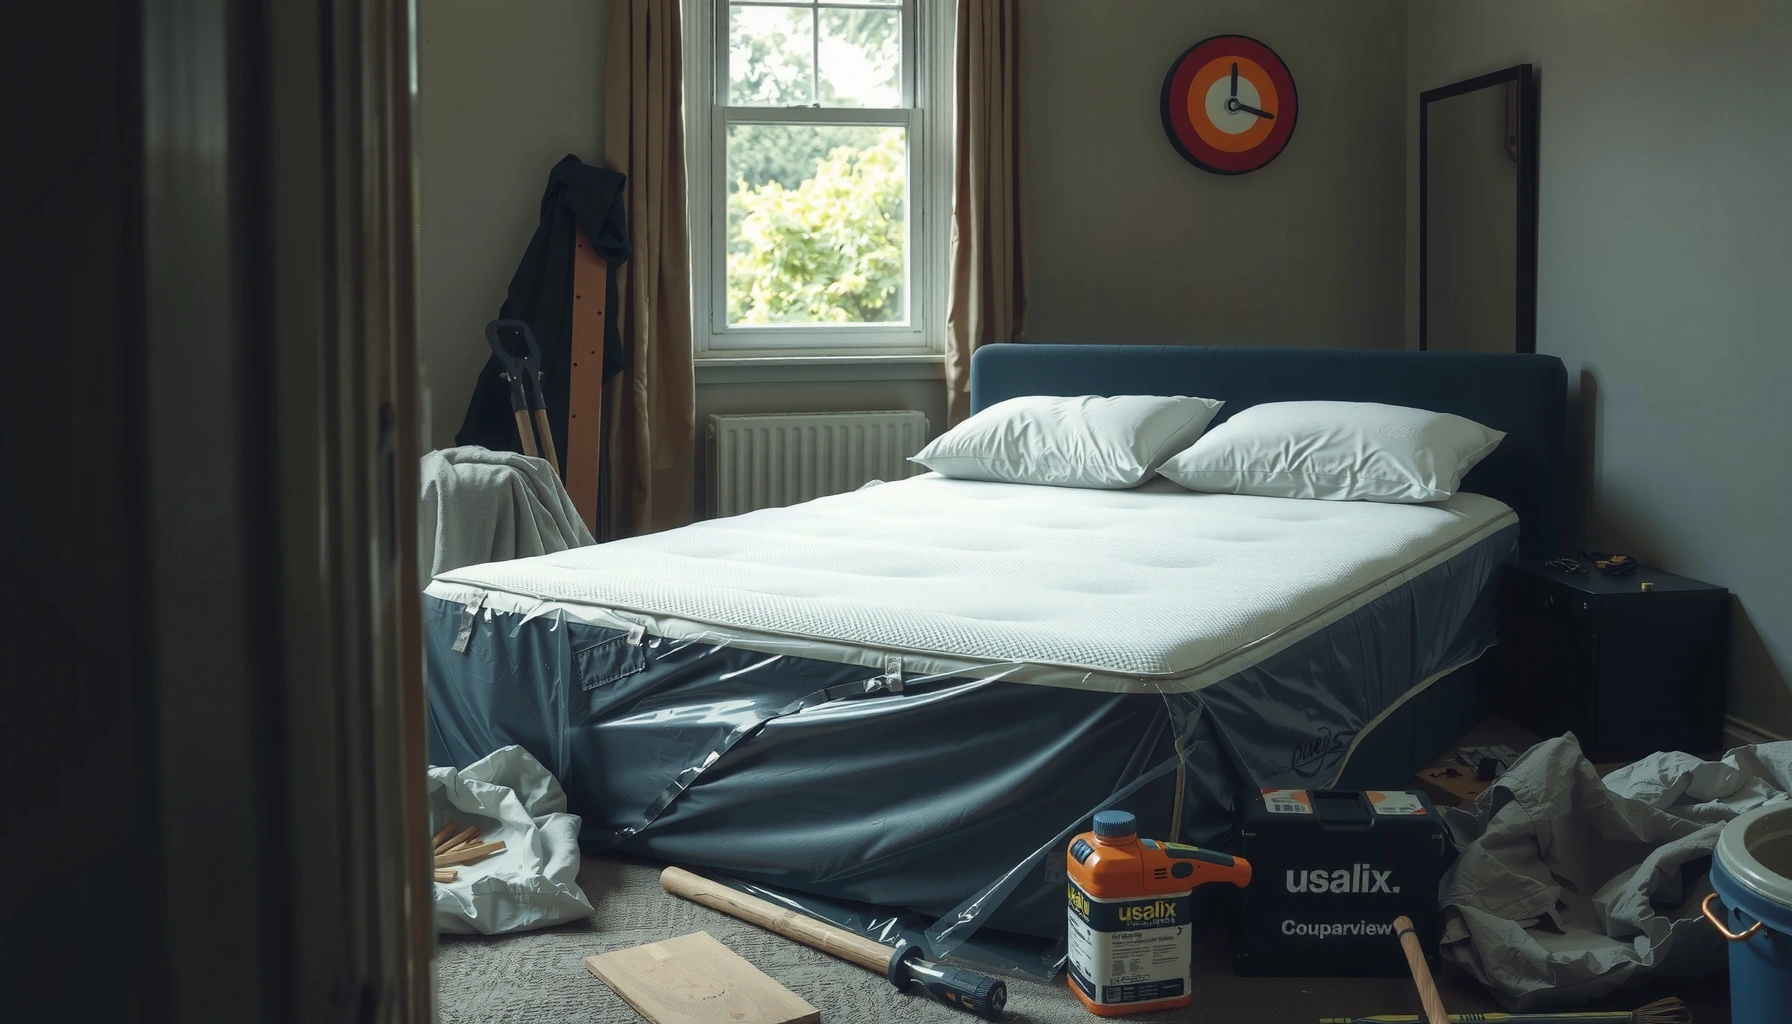
Start by sealing the wool mattress in a bed-bug-proof encasement rated for pest protection, then place it inside a heavy-duty plastic cover or vacuum-sealed storage bag. Keep the mattress away from renovation zones and foot traffic, ideally in a closed room with controlled access. After renovation debris is cleared, inspect seams, tufts, and edges before putting the mattress back into use.
What is the best way to pack and move a wool mattress without spreading bed bugs?
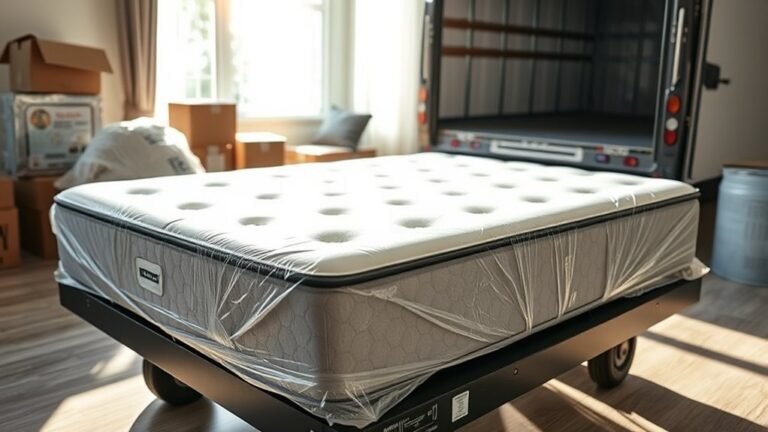
Wrap the mattress in a protective encasement first, then cover it with durable plastic sheeting and tape the seams to prevent contamination. During moving, use clean furniture dollies and avoid dragging the mattress across floors where contractors have worked. If you suspect bed bug activity, transport the mattress directly to sealed storage and avoid opening it until the renovation area is fully cleaned and inspected.
Which bed bug prevention steps should I take before renovation starts?
Conduct a thorough inspection of the mattress and surrounding areas for signs like live bed bugs, shed skins, or dark spotting at seams and mattress edges. If you find evidence, consider professional bed bug treatment before moving furniture or renovating. Even if you don’t see bugs, reduce risk by decluttering nearby rooms, laundering fabric items, and using sealed bins so pests can’t hitchhike on renovation materials.
How do I keep bed bugs from getting on a wool mattress when contractors bring in dust and debris?
Bed bugs can hide in clutter and small gaps, so keep the wool mattress in a sealed, off-limits area and cover it immediately upon removal from the bed frame. Use taped plastic sheeting and close doors between renovation zones and storage areas to limit movement of pests and contaminated dust. After work stops each day, clean the renovation area (especially corners, baseboards, and floors) and avoid bringing opened boxes or tools into the room with your protected mattress.
Why do wool mattresses need special protection during renovations, and what inspections should I do afterward?
Wool mattress covers and natural fibers can trap debris and make it harder to notice early bed bug activity, especially around stitching and tufts. Once renovation is complete, inspect the mattress seams, corners, and piping with a bright flashlight and consider using a magnifier for small marks or shed skins. If you detect any signs, re-encase the mattress and contact a pest management professional before resuming normal use.
📅 Last Updated: October 26, 2026 | Topic: How to Protect a Wool Mattress from Bed Bugs During Renovation | Content verified for accuracy and freshness.
References
- https://www.cdc.gov/bedbugs/index.html
- Bed Bugs: Get Them Out and Keep Them Out | US EPA
- https://npic.orst.edu/faq/bedbugs.html
- https://www.hud.gov/program_offices/public_indian_housing/bedbugs
- Bed bug
- https://www.britannica.com/animal/bed-bug
- https://pubmed.ncbi.nlm.nih.gov/?term=bed%20bug%20integrated%20pest%20management%20mattress%20encasement
- https://scholar.google.com/scholar?q=bed+bug+control+integrated+pest+management+mattress+encasement Google Scholar
- https://scholar.google.com/scholar?q=bed+bugs+heat+treatment+laundering+vacuuming+home+renovation Google Scholar
- https://scholar.google.com/scholar?q=wool+mattress+bed+bugs+fabric+heat+or+laundering+survival Google Scholar