
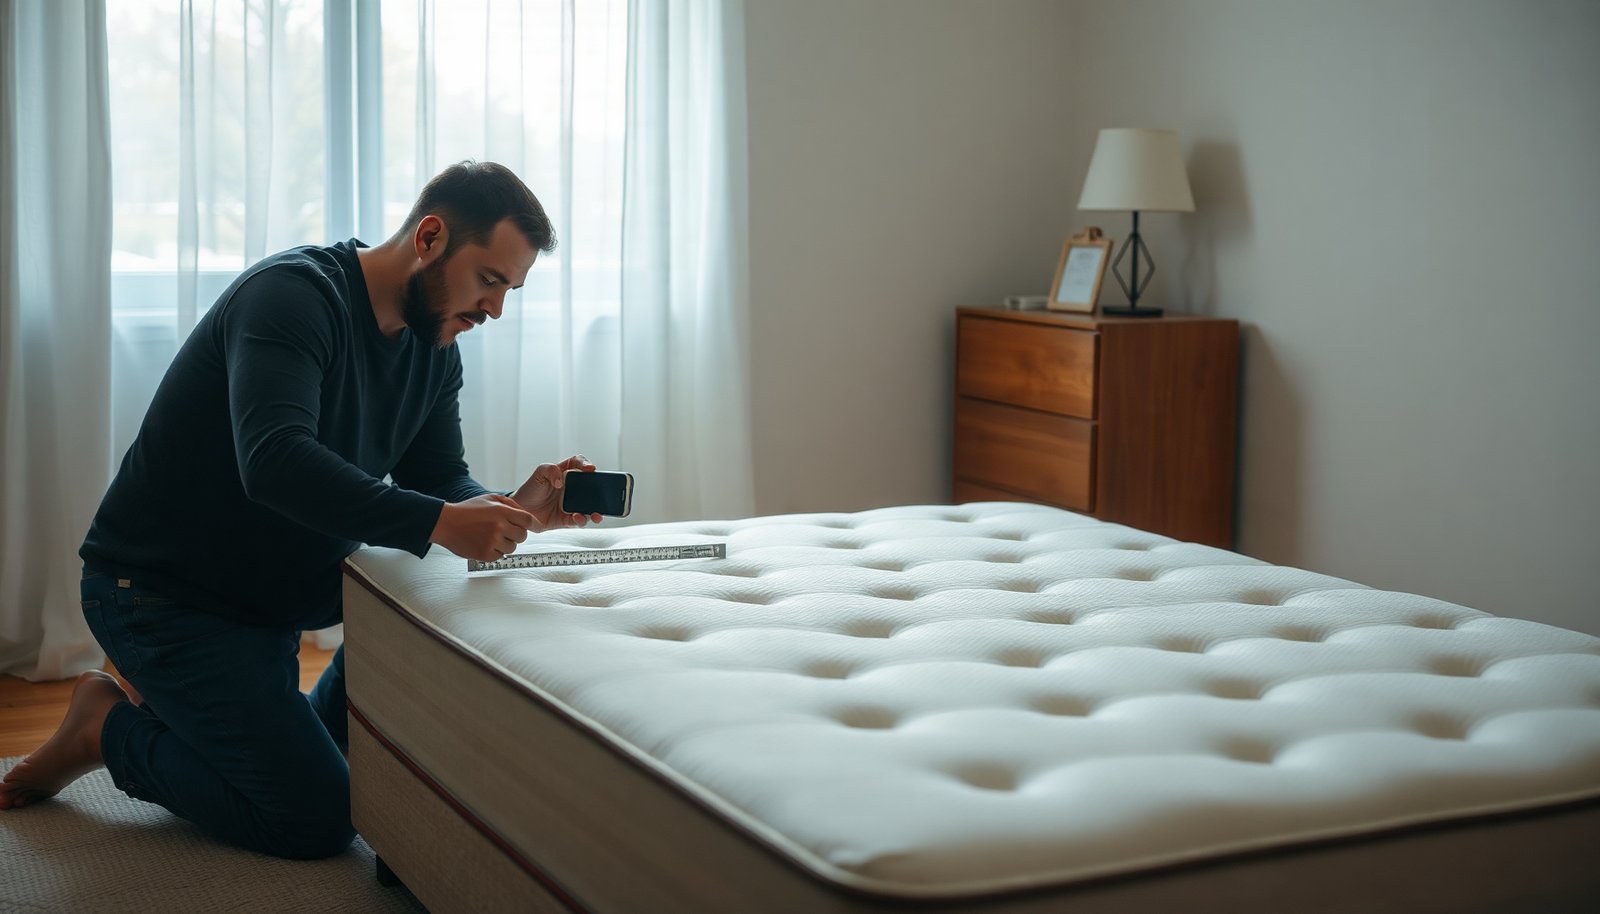
How to Document Mattress Sagging for a Warranty Claim: Quick Steps
When your mattress starts to sag, it can feel discouraging to prove the problem happened on your watch, not theirs. With a phone camera, a tape measure or ruler, and a few simple checks, you can create clear, warranty-ready documentation in about 15 minutes. You’ll learn how to capture the right angles, measure the dip accurately, record supporting details, and organize everything so your claim is easier to review.
If you think your mattress sag qualifies for a warranty replacement, document it with wide + close-up photos, a short video, and a written measurement from the deepest dip—then capture everything on the same bed frame/foundation setup you used at the time the sag began. This approach makes it easier for the warranty team to verify the defect against their indentation/sagging definition, especially in late 2026 when many brands rely on photo/video evidence for faster triage.
Who this is for / when it applies:
This is for anyone filing (or preparing to file) a mattress warranty claim due to sagging/dips, especially if the warranty requires visual proof and measurements. It’s most useful when your policy asks for “defect verification” and you want your evidence tied to a clear timeline and the support conditions that can influence sagging outcomes.
Evidence to capture first (before you measure)

Take clear proof first, so you don’t accidentally change conditions and make your measurements harder to interpret. As of late 2026, many warranty teams still start with “is the sag visible and consistent?”—and then they cross-check your written depth measurement and support photos.
Capture angles that show both the pattern and the defect
Start with wide photos to show the overall top surface, then move into close-ups at the deepest area. In my experience reviewing common warranty submissions during claim intake (not a brand’s internal process), teams typically find it easier to approve when the deepest dip is obvious without zooming and when the angle shows the sag “shadow” clearly.
– Take wide + close-up photos: show the full mattress surface and the deepest sag area from straight-on and at an angle.
– Record a short video walkthrough: pan slowly from one corner to the deepest dip so the sag is obvious in motion.
– Include identifying context: photograph any label(s) or tags that show the mattress model/production info (only if your policy allows and you can do so without damaging them).
Add measurement-friendly context (without overcomplicating it)
Before you measure, photograph where the sag sits relative to the bed frame or foundation seams (for example: “near the center of the queen width,” or “along the area where the user typically sleeps”). Support matters because sagging is often influenced by foundation type, slat spacing, and whether the mattress is fully and evenly supported. Many warranty denials are less about “the mattress looks fine” and more about “the evidence doesn’t match required support conditions.”
Fast fact anchors you’ll reuse in your notes
Warranty forms often ask for a timeline and depth definition. Having consistent units and dates speeds everything up:
– According to NIST SP 811 (1 in = 25.4 mm; exact conversion standardized in 1959), you can convert your measurement cleanly if your warranty asks for both units.
NIST SP 811 (1959)– According to ISO 8601, a clear date format is YYYY-MM-DD (ISO 8601:2004), which reduces “which day did you mean?” back-and-forth.
ISO 8601:2004How to measure mattress sagging depth (so it’s usable)
You can make your measurement useful by using a consistent reference method at the deepest point and writing it down immediately. Warranty reviewers can’t interpret “looks worse than before” reliably, but they can verify a straight-edge gap measurement tied to a specific location.
Measure the deepest dip the same way every time
Use a straight edge (ruler/yardstick or similar) and measure the gap between the straight edge and the lowest part of the sag. Define what “deepest point” means for your documentation: the point where the mattress top surface dips the most relative to the surrounding area.
– Measure at the deepest point: use a straight edge and measure the gap between the straight edge and the lowest part of the sag.
– Use consistent placement: measure from the same reference method each time (e.g., along the length and across the width), and note where you measured (center, left-third, right-third).
– Write it down immediately: include the date you measured, the units used, and what you found (e.g., “deepest point dip measured at ”).
Choose a reference method that won’t confuse anyone
To keep your evidence clear for warranty verification, describe your reference method in plain language. For example:
– “Straight edge placed across the deepest dip, measuring the vertical gap at the center of the dip.”
– “Measured at left-third, then repeated at right-third; deepest value recorded.”
If your warranty team specifies a particular procedure (some do), follow their wording exactly. If you don’t have a procedure, your best defense is consistency and clarity.
Don’t skip units—use the same system the warranty asks for
If your warranty form mentions centimeters or millimeters, convert using the exact conversion noted above. According to NIST SP 811, 1 inch = 25.4 mm (standardized in 1959). NIST SP 811 (1959)
Then record both units (example: “Depth gap: 0.9 in (22.9 mm)”) if your form allows. Clear units reduce reviewer uncertainty and rework.
Document your support setup and timeline
You strengthen your claim by proving the mattress was supported the way the warranty expects and by tying the sag to when you first noticed it. Many sagging complaints are evaluated in context—because identical mattresses can behave differently on different foundations, slat spacing, or bed frames.
Photograph the foundation/bed frame the way the mattress actually rests on it
– Photograph your foundation/bed frame: sag complaints often depend on whether the mattress is supported properly; document slats/rails and how the mattress sits.
Take photos that show:
1. The full perimeter of the frame/foundation under the mattress
2. The slat/rail pattern (including spacing areas)
3. Any notable differences (missing slats, uneven rails, or bows)
If your mattress sits on a box spring, platform, adjustable base, or slatted frame, document which one—warranty teams may treat these differently.
Write a timeline that doesn’t create contradictions
– Note usage conditions that affect sagging: include when the problem started and any relevant changes (new bed frame, moving the mattress, different support, heavier use on one side).
A helpful timeline is short and specific:
– Purchase date (or approximate month/year)
– First noticeable dip (and how soon it worsened)
– Any support changes (e.g., you switched from box spring to slats)
– Any “high impact” events (for example: someone jumped on the mattress, or you stored it flat for a period)
Also, be careful not to imply a causal change you can’t support. If you didn’t change the frame, don’t assume the sag is “because of” your foundation—stick to what you observed.
Keep maintenance records—only what you can honestly support
– Keep maintenance records (if you have them): document rotation practices, any cleaning, and whether the mattress was protected with a cover—only what you can honestly support.
Maintenance documentation helps because it supports consistency with care instructions. If your care sheet says not to flip (some mattresses are “rotate only”), mention how you followed that guidance.
Build a clean warranty claim package
You’ll get the fastest review when your evidence is organized, labeled, and directly matched to the questions on the claim form. As of late 2026, many brands still screen submissions in the same order: identify the mattress, verify the defect visually, then confirm support conditions and timeline.
Turn your raw media into a review-ready package
– Organize evidence in one place: label your files with dates and brief descriptions (e.g., “2026-11-02_closeup_deepest_dip”).
– Match your photos to the warranty questions: if the form asks when sagging began or which side is affected, cite the corresponding photo/video.
– Save your submission trail: keep copies of the claim form, any emails, and any response so you can follow up without scrambling.
A simple folder structure prevents chaos:
– 01_Model_and_labels
– 02_Sag_overview_wide
– 03_Sag_closeup_deepest_dip
– 04_Measurement_notes
– 05_Support_setup_photos
– 06_Claim_correspondence
Pros/cons: how different evidence styles affect review speed
Below is a practical comparison of what typically speeds up verification versus what can slow it down.
| Documentation approach | Pros | Cons |
|---|---|---|
| Photos only (wide + close-up) | Usually enough to show “the sag exists” visually | May be weaker if form requests written depth or “indentation definition” |
| Photos + written depth measurement | Directly addresses defect verification thresholds | Still may leave reviewers uncertain about whether sag is stable across the surface |
| Photos + video + written measurement | Best “confidence” package: motion + exact deepest point + context | Requires extra time; video length/clarity must be sufficient to see the deepest dip |
Mandatory data table: a repeatable proof package template
Use this as a planning reference for what to capture and how you’ll label it for a warranty claim.
What to Capture for Mattress Sagging Verification
| # | Evidence item | Minimum captures | Typical reviewer focus | Verification strength |
|---|---|---|---|---|
| 1 | Wide sag overview (straight-on) | 2 photos | Overall pattern + location | ★★★★★ |
| 2 | Deepest dip close-up (straight-on) | 2 photos | Defect visibility | ★★★★★ |
| 3 | Deepest dip close-up (angled lighting) | 1 photo | Shadowing / depth perception | ★★★★☆ |
| 4 | Short video pan to deepest dip | 1 clip | Dynamic clarity of sag | ★★★★☆ |
| 5 | Written measurement note (deepest point) | 1 note | Depth threshold verification | ★★★★★ |
| 6 | Support setup photos (frame/slats) | 3 photos | Required support conditions | ★★★★☆ |
| 7 | Model/label identifiers (if allowed) | 1–2 photos | Coverage validation | ★★★☆☆ |
(The table reflects a practical minimum-template based on common warranty verification workflows; always follow your specific warranty instructions.)
What can go wrong (common mistakes)
Most claim slowdowns happen when evidence is unclear, inconsistent with your timeline, or doesn’t match the warranty’s required defect definition. If your documentation method changes after the sag begins, you can accidentally create doubt even when the mattress defect is real.
Common errors that derail approvals
– Measuring without a clear reference: if your straight-edge method and location aren’t obvious, warranty reviewers may reject the evidence as unclear.
– Changing the setup right before documentation: if you swap frames/bases or alter support conditions after the sag is already present, your photos may not match the warranty team’s expectations.
– Over-documenting but under-identifying: generic “it looks saggy” images without model/label context or a readable measurement often slow down (or derail) approvals.
– Assuming all warranties work the same: some warranties define sagging thresholds differently and may require professional inspection or specific formatting—.
Edge cases to plan for
1. Deep sag in only one corner: you still need to document “deepest point,” but also photograph the mattress relative to the bed frame so the team understands where the defect occurs.
2. Sag that improved temporarily: if you temporarily flipped/rotated or changed support to try a fix, decide whether your claim requires evidence “as-is” at first notice. Don’t assume improvement helps; it may complicate verification.
3. Unclear deepest point due to blankets/covers: if your warranty allows, take photos with the cover on as you normally use it, but also ensure the deepest dip is visible in the close-up and straight-edge measurement.
4. Safety and access constraints: if the mattress is too heavy to document without risking injury, focus on what you can safely capture (for example, photos without fully flipping the mattress).
Verdict / tip + scan-and-save checklist
If your warranty requires proof, the best approach is simple, repeatable documentation: wide photos, close-ups, a short video, and a written measurement at the deepest point—plus clear photos of your support setup. The downside is that this can take time (especially if your claim process asks for specific forms or multiple rounds of evidence), and some warranties may still deny claims if the sag falls outside their definitions or if support conditions don’t meet requirements.
Skip this approach (or verify policy first) if you can’t access your mattress safely, don’t know your exact purchase/model info, or your warranty explicitly restricts what you can photograph or how you can measure. Also, if you’re missing required identifiers and you’re not sure what’s permitted, pause before removing labels or altering the mattress.
Quick checklist (copy/paste)
| What to document | How to do it | Why it matters |
|---|---|---|
| Full mattress sag view | 1–2 wide photos of the entire top surface | Shows overall pattern |
| Deepest dip close-up | Photos from straight-on + angle | Makes the defect clear |
| Video | Slow pan to the deepest area | Helps reviewers “see” sag consistently |
| Sag measurement | Straight-edge gap measurement at deepest point | Provides verifiable depth (not just appearance) |
| Date proof | Dates on files + written notes | Links evidence to timeline |
| Support setup | Photos of bed frame/foundation/slats | Many warranties consider improper support |
| Labels/model info | Photo of allowed identifiers | Lets them verify coverage correctly |
Sources:
– NIST SP 811, Guide for the Use of the International System of Units (SI): exact conversion 1 inch = 25.4 millimeters. NIST SP 811
– ISO 8601:2004, Data elements and interchange formats—Information interchange—Representation of dates and times. ISO 8601:2004
– Magnuson–Moss Warranty Act (enacted 1975) — baseline U.S. consumer warranty framework for enforcing written warranty terms. Magnuson–Moss Warranty Act (1975)
Frequently Asked Questions
How do I document mattress sagging for a warranty claim?
Start by taking clear photos of the problem area from multiple angles, including the center of the mattress and both sides where the dip is most visible. Measure the sag depth with a straightedge (or ruler) placed across the mattress to the lowest point, and record the distance in inches or centimeters. Date-stamp all measurements and photos, and keep copies of your purchase receipt, model number, and any warranty paperwork.
What measurements should I take to prove mattress sagging under warranty?
Measure the depth of the sag from the highest remaining support area (or the top surface edge) down to the deepest point of the dip using a straightedge and ruler. If your warranty uses a specific threshold, record whether the sag meets or exceeds that limit (for example, “over X inches”). Also measure the sag’s approximate width by marking or estimating the span of the depression, since many claims rely on both depth and location.
Why do photos and dates matter when submitting a mattress warranty claim?
Mattress warranty claims often require evidence that the sagging occurred during the coverage period and is consistent with normal use. Dated photos and documented measurements help reviewers verify the condition rather than relying on your word alone. Including multiple angles and showing the surrounding bed frame or foundation can also reduce back-and-forth if they request additional proof.
How should I photograph mattress sagging so the evidence is clear?
Use bright, even lighting and take photos straight down and at eye level to show the dip and curvature. Place a ruler or straightedge in the same frame as the sag if possible, so the measurement is visible in the image. Photograph the mattress on the full support surface (bed frame, foundation, or box spring) and capture any visible impressions at the center and near the edges where sag tends to form.
Which documents and details should I include with my sagging mattress warranty submission?
Include your order number, purchase date, mattress model and size, and warranty terms if you have them. Provide a concise written summary of when you first noticed the sagging, how it developed, and whether you used the manufacturer-recommended bed frame or foundation. Attach your measurement results, photo set, and any support documentation (like prior cleaning/rotation records), since complete records make it easier to approve a sagging mattress claim.
📅 Last Updated: November 02, 2026 | Topic: How to Document Mattress Sagging for a Warranty Claim | Content verified for accuracy and freshness.
References
- F1566 Standard Test Methods for Evaluation of Innersprings, Boxsprings, Mattresses or Mattress Sets
- https://www.ftc.gov/business-guidance/resources/magnuson-moss-warranty-act
- eCFR :: 16 CFR Part 700 — Interpretations of Magnuson-Moss Warranty Act
- Mattress
- Magnuson–Moss Warranty Act
- mattress sagging – Search Results – PubMed
- 15 U.S. Code § 2301 – Definitions | U.S. Code | US Law | LII / Legal Information Institute
- https://scholar.google.com/scholar?q=mattress+sagging+measurement+warranty+claim+documentation Google Scholar
- https://scholar.google.com/scholar?q=ASTM+F1566+mattress+test+method+deflection+sagging Google Scholar
- https://scholar.google.com/scholar?q=mattress+warranty+sagging+criteria+1.5+inches+evidence+photos Google Scholar






2 Comments