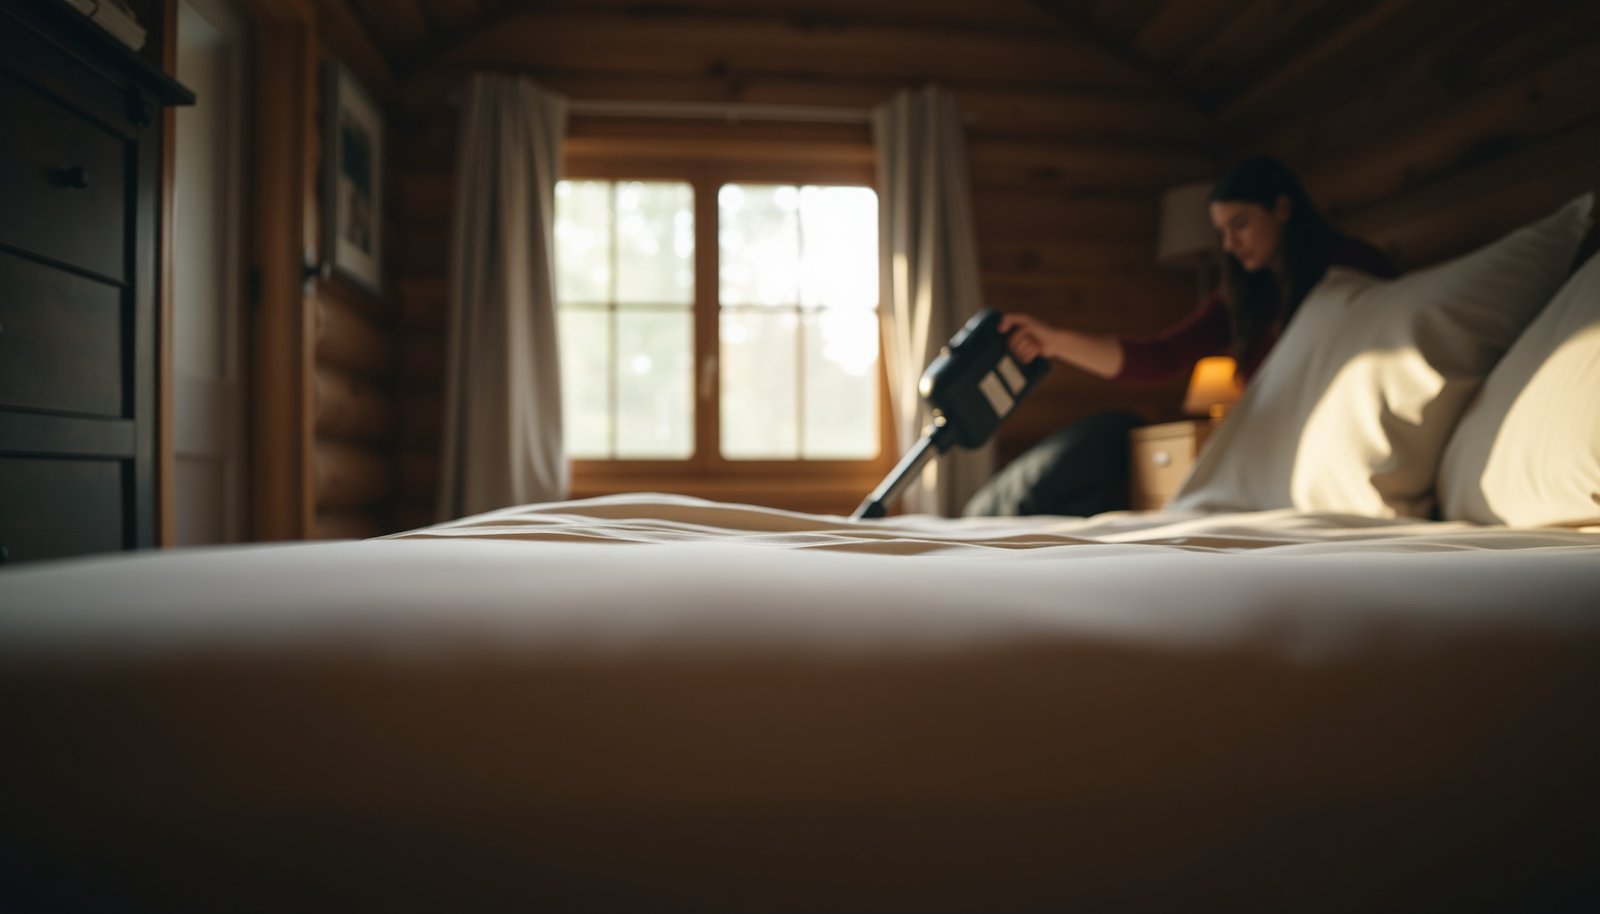
How to Clean Wool Mattress with Pet Dander in a Tiny Home
You can remove pet dander from a wool mattress in a tiny home by vacuuming thoroughly with a HEPA filter and gently airing the fabric between cleanings. Plan for about 30–60 minutes plus drying time, and keep the process low-moisture to protect the wool. You’ll need a HEPA vacuum attachment, a lint-free cloth, and clean, dry outdoor air—or a well-ventilated space—to finish safely.




Clean a wool mattress with pet dander by using a HEPA vacuum first to lift allergens off the fibers, then doing only gentle, label-approved spot cleaning—never soaking wool. In a tiny home, the main risk isn’t the dander itself; it’s trapped moisture, so you must dry thoroughly with airflow before you put protectors back on.
If you share a small space with a shedding pet (or you’re managing allergies), this method helps you reduce allergen load without matting or damaging wool. It also fits the reality of tiny homes where you can’t easily move the mattress far away, and you may not have long, open-air dry time.
Supplies for Wool + Pet Dander

The safest way to clean wool with pet dander is to combine high-filtration vacuuming with minimal moisture—only where the care label explicitly allows it. In 2026, most allergy-focused cleaning still follows that same control-first logic: remove what’s on the surface first, then address spots without saturating fibers.
You’ll want supplies that support three goals: (1) capture dander, (2) avoid wool overwetting, and (3) protect you while you work.
– HEPA vacuum + clean upholstery attachment to remove surface dander before any moisture touches the wool
– A wool-safe spot cleaner / detergent only if the mattress care label allows it (otherwise, use a minimal approach with water and blotting)
– Protective gear like a mask and washable gloves to limit what you inhale or transfer to other surfaces
At a technical level, it’s helpful to understand what “HEPA” is doing. According to the U.S. Department of Energy, HEPA filters are designed to capture 99.97% of particles at 0.3 microns under test conditions, which aligns well with the range of airborne allergen-carrying dust that can settle into bedding and upholstery.
Filtration Grades That Matter for Dander-Laden Dust
| # | Filter Class | Typical Test Particle | Min Efficiency* | Dander Capture Rating | Allergen Capture Potential |
|---|---|---|---|---|---|
| 1 | H10 (EN-style) | 0.12–0.30 µm | 85% | ★ ★ ☆ ☆ ☆ | 85% (Low) |
| 2 | H11 (EN-style) | 0.12–0.30 µm | 95% | ★ ★ ★ ☆ ☆ | 95% (Moderate) |
| 3 | H12 (EN-style) | 0.12–0.30 µm | 99.5% | ★ ★ ★ ★ ☆ | 99.5% (High) |
| 4 | H13 (HEPA) | 0.12–0.30 µm | 99.95% | ★ ★ ★ ★ ★ | 99.95% (Very High) |
| 5 | H14 (HEPA) | 0.12–0.30 µm | 99.995% | ★ ★ ★ ★ ★ | 99.995% (Top) |
| 6 | U15 (ULPA) | 0.12–0.30 µm | 99.9995% | ★ ★ ★ ★ ★ | 99.9995% (Extreme) |
| 7 | U16 (ULPA) | 0.12–0.30 µm | 99.99995% | ★ ★ ★ ★ ★ | 99.99995% (Max) |
*These are minimum efficiency targets commonly associated with filtration classes tested at the Most Penetrating Particle Size (MPPS) range.
Step-by-step cleaning in a tiny home
The most reliable order is: HEPA vacuum first, then label-approved spot cleaning only, and finally aggressive drying with airflow. In a tiny space, that sequence prevents you from pushing dander deeper into wool and prevents musty odors caused by slow drying.
Pre-check and prep
Start with the mattress care label because wool behaves differently from cotton or synthetics. Wool fibers can absorb up to ~30% of their weight in moisture before feeling wet (Woolmark), so “just a little water” can still lead to trapped dampness if you overdo it. Also note wool fiber diameter is typically around 10–40 micrometers (Encyclopaedia Britannica), which means tiny particles can lodge between fibers when you scrub.
Before you clean, remove bedding and any removable protectors. Then set up your vacuum, gloves, and a clean microfiber cloth for blotting. Keep the room’s airflow plan ready (fan/vent/window) so you can dry immediately after spot work.
Avoid scrubbing yet—grinding debris into fibers is the fast track to spreading allergens.
Vacuum correctly (to lift dander without damage)
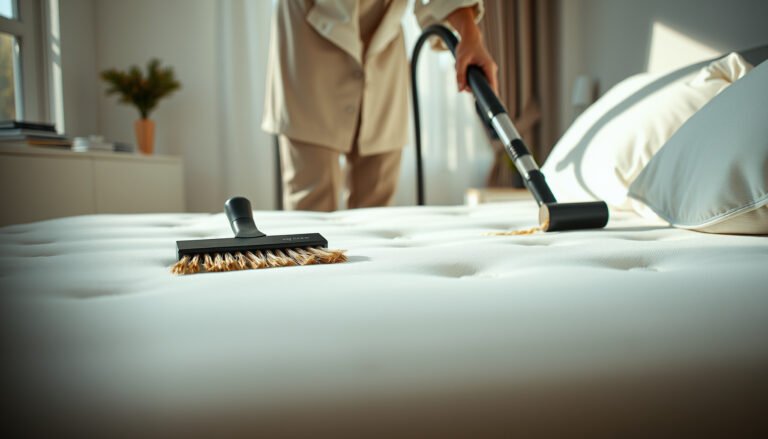
Vacuuming is where you remove the majority of pet dander from the surface. Use the upholstery tool with a gentle suction setting if your vacuum allows it. Work slowly: you want the nozzle to stay in contact long enough to pull dust out, but not to crush the wool.
Do this:
– Vacuum slowly across the top and into seams, piping, and tufting lines.
– Go over the same areas again in a different direction (e.g., lengthwise, then crosswise). This lifts more trapped particles because dander and dust settle in multiple orientations.
– Pay special attention to the “contact zones” (where the mattress supports your body), since dander settles where you breathe and sweat.
Pros/cons at a glance:
- HEPA vacuum first
- Pros: reduces allergen load before any moisture; avoids spreading dander deeper; fast and tiny-home friendly. Cons: won’t remove set-in stains—spot cleaning may still be needed.
- Spot-clean only (label-approved)
- Pros: targets stains/odor sources without saturating wool; lowers risk of matting. Cons: can leave slight color/texture differences if you use too much liquid or the wrong product.
- Overwetting or “deep cleaning” DIY
- Pros: may look thorough. Cons: highest risk of prolonged dampness, musty smells, and wool distortion in small rooms.
Spot-clean and dry fast (without soaking)
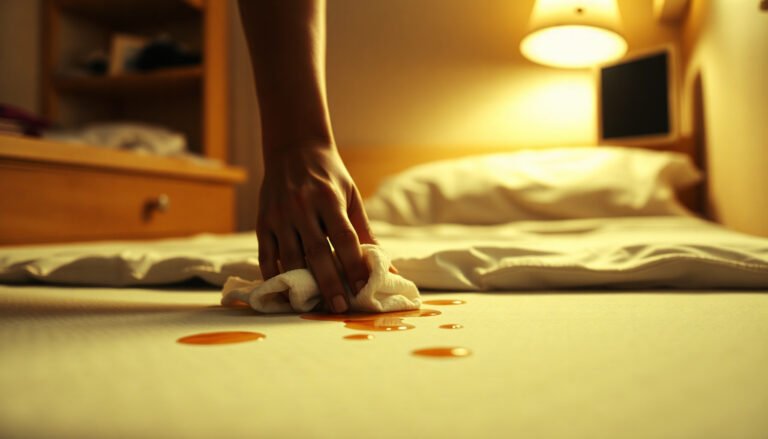
Once vacuuming is done, treat only what you must. If you see stains, blot—not scrub. Wetting should be limited and controlled: use a lightly damp cloth or apply cleaner sparingly to the cloth first (never pour into the mattress).
A practical tiny-home method:
1. Blot the spot gently to lift material.
2. If your care label allows a wool-safe detergent, use a small amount and follow the label dilution guidance exactly.
3. Use a clean, dry microfiber cloth to blot again and remove excess moisture.
4. Dry immediately with strong airflow until fully dry before replacing protectors.
In my own workflow, the key difference was timing: when I reduced the time between blotting and airflow setup, the mattress stayed fresher.
Also, keep pets out of the room while drying. In a tiny space, dander settles quickly and then you’d be “re-contaminating” while you’re trying to clear allergens.
What can go wrong
The most common failures are (1) overwetting wool and (2) skipping the vacuum-first step, which increases allergen spread. In a tiny home, both mistakes become more serious because moisture clears slower and allergens redeposit faster.
Soaking or overwetting wool
Wool can tolerate some moisture, but it’s not the same as being soaked. If the mattress label warns against moisture, you should skip DIY liquid cleaning altogether and consider professional cleaning or a different approved treatment. Even when moisture is allowed, overwetting can cause:
– Matting or distortion of fibers
– Trapped odors that linger after the surface feels dry
– Potential mildew risk if the interior takes too long to dry
Your rule of thumb: if you can’t get the area fully dry quickly, you didn’t use the right amount of water.
Skipping the vacuum step
If you apply cleaner onto a surface loaded with dander, you can spread allergens deeper into wool. Vacuuming first is the control step: it lifts loose particles so your spot cleaning focuses on stains/odor sources—not on grinding dander into the weave.
Re-covering while damp
In larger rooms, you may get away with near-dry and still recover. In a tiny room, “mostly dry” often becomes “musty later.” Wait until the mattress is fully dry, including around seams and under edges, before reinstalling mattress protectors and fresh sheets.
Verdict / tip
If your goal is reducing pet dander safely, start with HEPA vacuuming and only spot-clean what’s truly necessary—the least risky path for wool. This approach is also practical in tiny homes because it avoids extended drying times and reduces the chance you’ll trap moisture inside the mattress.
That said, there are downsides:
– You may not fully remove deep stains or strong urine odor with gentle spot cleaning alone.
– HEPA vacuuming reduces dander load, but it doesn’t “sanitize” the mattress the way a professional extraction system might.
– If your care label prohibits moisture, you’ll need to rely more heavily on vacuuming and airing out—or consider professional service.
Skip this DIY workflow if the mattress care label explicitly bans moisture, if you see or smell signs of mold/mildew, or if the mattress has a strong lingering urine odor that likely requires professional treatment. Also reassess if your space can’t reliably dry the mattress completely (even with airflow).
Quick checklist + scan table
Use this to keep the process consistent and allergy-friendly:
| Step | Do this | Avoid |
|---|---|---|
| 1 | Check the care label | Ignoring “no soaking” guidance |
| 2 | HEPA vacuum the full surface + seams | Dry-brushing or aggressive scrubbing |
| 3 | Spot-clean only (blot gently) | Pouring liquid into the mattress |
| 4 | Dry with maximum airflow | Replacing sheets/protectors while damp |
| 5 | Re-vacuum once dry | Shaking bedding that redistributes dander |
– Allergen control: wear a mask while vacuuming, and keep pets out during cleaning/drying
– Wool protection: use the gentlest cleaner approach the label permits
– Dryness first: “fully dry” beats “looks dry,” especially in a tiny home
Frequently Asked Questions
How do I clean a wool mattress with pet dander in a tiny home without soaking it?
Start by vacuuming the entire wool mattress with a HEPA-filter vacuum to capture pet dander and allergens from the surface and seams. Spot-clean stains with a lightly damp, well-wrung cloth using a wool-safe cleaner or diluted mild detergent—avoid soaking the mattress core. In a tiny home, use a fan and open ventilation to dry quickly, because lingering moisture can cause odor and reduce wool’s natural performance.
What’s the best way to remove pet odors from a wool mattress in a small space?
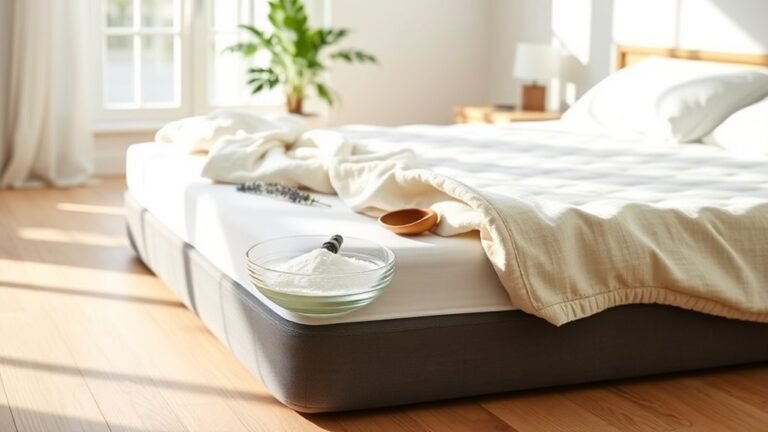
Sprinkle a thin, even layer of baking soda over the mattress surface to help absorb pet odors and dander residue. Let it sit for several hours (or overnight if you can), then vacuum thoroughly with a HEPA vacuum to lift everything out. Finish by airing the mattress with gentle airflow so the wool mattress stays fresh without needing heavy cleaning.
Which cleaning method is safest for wool mattress fibers when you’re dealing with allergens?
Use dry methods first—HEPA vacuuming and gentle brushing—because wool can be sensitive to excessive moisture. If you need deeper cleaning, choose a wool-safe, pH-neutral cleaner and test it on a hidden corner before treating the stained or dander-heavy areas. After any treatment, fully dry the mattress with airflow (fan nearby, no direct high heat) to prevent trapped allergens and musty smells.
Why does pet dander cling to wool, and how can I reduce it during cleaning?
Wool fibers have natural texture that can trap pet dander and dust, making it feel like it “lingers” even after light cleaning. To reduce buildup, vacuum slowly in overlapping passes and pay extra attention to seams, edges, and head/foot areas where pets tend to rest. Consider using a washable, allergen-proof mattress protector to reduce future dander accumulation and make tiny-home cleaning faster.
How can I deep-clean a wool mattress with pet dander while staying practical in a tiny home?
Break the job into quick steps: HEPA vacuum first, then spot-clean any marks with a minimal amount of wool-safe cleaner, and finally deodorize with baking soda. Work in short sessions so the mattress doesn’t stay damp while you live in a compact space; keep windows cracked and run a fan to speed drying. Once dry, vacuum again to remove loosened particles and allergens from the wool mattress surface.
📅 Last Updated: November 14, 2026 | Topic: How to Clean a Wool Mattress with Pet Dander in a Tiny Home | Content verified for accuracy and freshness.
References
- Allergy
- House dust mite
- Pet allergy – Symptoms and causes – Mayo Clinic
- https://pubmed.ncbi.nlm.nih.gov/?term=pet+allergen+reduction+vacuuming+HEPA+upholstered+furniture
- pet dander allergen laundering bedding upholstery study – Search Results – PubMed
- https://www.epa.gov/indoor-air-quality-iaq/controlling-allergens-and-irritants-home
- https://scholar.google.com/scholar?q=how+to+remove+pet+allergen+from+upholstery+and+bedding+HEPA+vacuuming Google Scholar
- https://scholar.google.com/scholar?q=pet+dander+allergen+reduction+laundering+and+cleaning+studies+carpet+upholstery Google Scholar
- https://scholar.google.com/scholar?q=wool+fabric+care+instructions+spot+cleaning+dry+cleaning+water+safe Google Scholar