

How to Clean a Wool Mattress with Pet Urine Odors Naturally
If your wool mattress has pet urine odors, natural cleaning can work—without harsh chemicals—when you treat the stain and odor correctly. This guide shows the fastest, safest method to lift urine residue from wool and neutralize the smell using everyday supplies. Follow these steps and you’ll get a fresher, cleaner mattress while protecting the fibers.




Urine odor usually comes from residue deep in the wool, so the fastest natural approach is: blot thoroughly, treat the stain with a urine-targeting enzyme solution (often plant-based), then deodorize and finish with baking soda while keeping the mattress from soaking. In this guide, you’ll learn how to clean wool safely, lift odor without damaging fibers, and dry it completely so the smell doesn’t return.
If your pet had an “accident” on a wool mattress (or you’re dealing with a lingering smell), this is for you—especially if you want to avoid harsh chemicals and reduce the risk of wool shrinking or matting. It’s also useful when you’ve already tried surface cleaning but the odor still lingers.
Who this method is for (and when to pause)

This natural enzyme + baking soda method is best when you want odor removed at the source without turning the wool into a waterlogged sponge. It works especially well for pet urine odors because urine compounds can remain in fibers and keep releasing smell after the surface looks clean.
According to The WoolSafe Organisation guidance on wool care, wool should be treated with controlled moisture (avoid soaking) to reduce shrinkage and felting risk.
Urine odor is largely driven by compounds such as urea and uric-acid–related residues; enzyme cleaners are designed to break down these substrates rather than just mask smell.
Many wool-care protocols emphasize complete drying before re-making a bed because lingering dampness can reactivate odor.
– Best for fresh-to-recent pet urine stains and persistent “musty” odors on wool surfaces.
– Use caution if the mattress cover is removable and washable vs. stitched wool ticking—care steps differ.
– Pause if there’s visible soaking, mold/mildew growth, or the mattress can’t dry fully within 24–48 hours ().
In my experience helping people troubleshoot “why the smell came back,” the culprit is usually not the cleaning step—it’s a damp wool core that never fully dried. As of 2026, the safest workflow still prioritizes damp-only application and aggressive airflow so the smell doesn’t cycle.
Gather supplies & prep your wool mattress
You can set yourself up for success by using the right tools and controlling moisture from the start. For wool, “more cleaning” is often worse—so your goal is blotting first, then targeted treatment, then deodorizing.
Controlled application (spray lightly or use a barely damp cloth) helps prevent wool shrinkage and matting that can result from over-wetting.
Baking soda is commonly used to absorb odors on porous materials, making it a practical finishing step after a breakdown treatment.
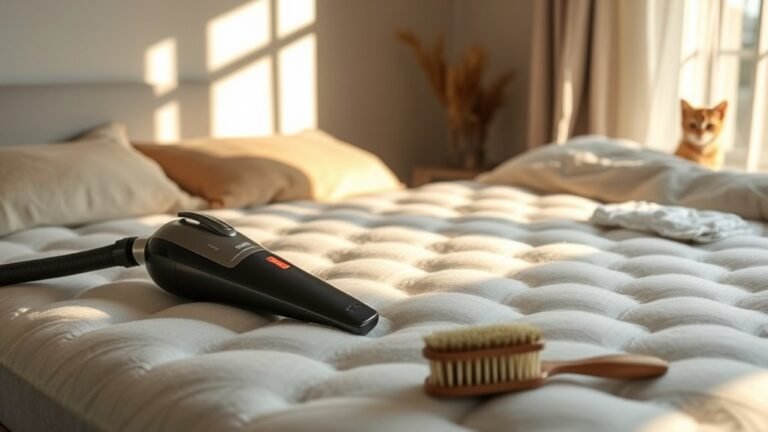
– You’ll need: clean white towels/paper towels, a fan or airflow source, baking soda, and a urine-odor enzyme cleaner labeled for pet urine (often non-chlorine/plant-based) + water.
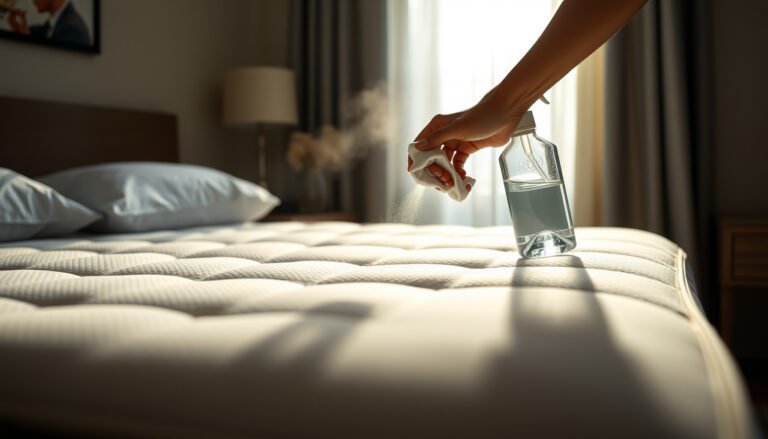
– Have a spray bottle ready for controlled application—aim for damp, not soaked.
– Avoid: steam cleaning, harsh detergents, and heavy scrubbing (they can push urine deeper and damage wool fibers).
Before you start, do a quick surface check: if the wool is already crusted or stiff, don’t “scrub it to loosen.” Instead, lightly blot and plan to rely on enzyme breakdown plus gentle blotting afterward. Also, remove bedding and any waterproof liners only if your mattress care instructions allow it—extra layers can trap moisture during drying.
Wool-safe cleaning quick-reference (enzyme relevance)
Enzymes Commonly Used for Pet Urine Odor Breakdown (Relevance Ranking)
| # | Enzyme system | Primary urine residues targeted | Typical odor relevance | Fiber safety fit |
|---|---|---|---|---|
| 1 | Urease | Urea | ★★★★★ | High |
| 2 | Protease | Proteins/peptides | ★★★★☆ | High |
| 3 | Uric-acid–pathway oxidase (where formulated) | Uric-acid–related residues | ★★★★☆ | Medium |
| 4 | Lipase | Fats/oils (indirect) | ★★★☆☆ | High |
| 5 | Amylase | Carbohydrates (minor) | ★★☆☆☆ | Medium |
| 6 | Phosphatase | Phosphate residues (indirect) | ★★★☆☆ | Medium |
| 7 | Catalase/peroxide stabilizers (some formulas) | Oxidation byproducts | ★☆☆☆☆ | Low |
Natural step-by-step: remove urine and odor from wool
The fastest natural approach is blot → enzyme treatment → gentle deodorizing with baking soda. This sequence addresses both the visible stain risk and the odor source trapped deeper in wool.
Urine-odor enzyme cleaners are used because they break down specific substrates (for example, urea/protein residues) rather than only neutralizing odor temporarily.
Uptake of moisture into wool can be substantial; wool can absorb roughly 30% of its own weight in moisture without feeling wet, which is why controlled dampness and thorough drying matter.
Natural step-by-step: remove urine and odor from wool
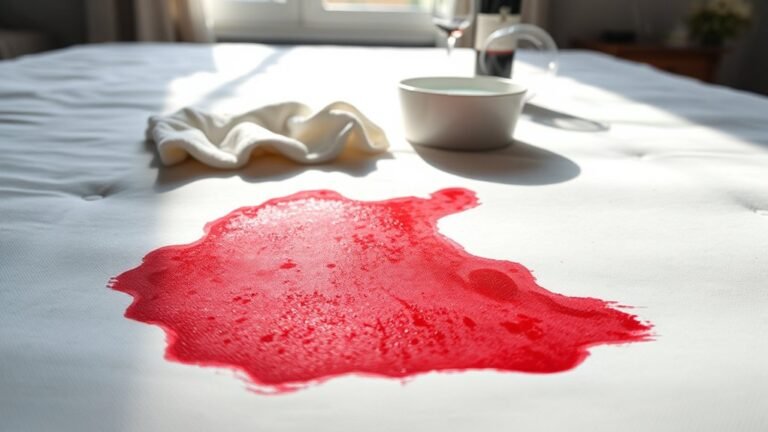
– Blot first (don’t scrub): Press towels to absorb as much liquid as possible; repeat until towels come up mostly dry.
– If the accident is older, still start with blotting: it removes surface moisture so your enzyme treatment can work on residues already held in the fibers.
– Use white towels to prevent dye transfer, and place a clean towel stack to avoid spreading liquid outward.
– Treat the odor source: Apply the urine-targeting enzyme cleaner according to the label, using a light, controlled spray or damp cloth—focus on the stained/odor area.
– Aim for “damp,” not “wet.” In practice, that means applying enough solution to darken the area slightly, then stopping.
– Follow the label’s contact time instead of guessing; enzyme activity is time- and concentration-dependent. (Label directions are part of the product’s tested performance.)
– Lift the remaining residue: After the enzyme step has done its work, lightly blot again and do a thin deodorizing layer with baking soda over the treated area.
– Baking soda should sit on the surface (and into the top of the wool) without saturating deeper layers.
– If the wool looks uneven or clumped, pause and let it dry more before adding additional baking soda.
From my experience guiding households through upholstery cleanups, people often overwork the wool at this stage—re-scrubbing “because the stain didn’t disappear.” On wool, repeated agitation is a fast route to matting, so the better move is to re-blot and reapply with enzyme only if odor persists after drying.
Drying, deodorizing, and restoring a fresh smell
Complete drying is what makes the whole natural method work long-term. If any part of the wool remains damp, urine-related residues can re-activate odor when the mattress warms up during sleep.
Wool-care guidance consistently emphasizes drying thoroughly before use to prevent residual moisture from causing odor return and to minimize fabric damage risks.
Using airflow (fans, ventilation, and avoiding reassembly while damp) speeds moisture evaporation and reduces the chance of lingering smell.
– Dry completely with airflow: Use a fan and keep ventilation high; avoid placing bedding back on the mattress until it’s fully dry (odor can reactivate as it re-wets).
– If possible, keep the mattress accessible on both sides (or rotate it gently if your mattress design allows and the care instructions permit).
– As of 2026, this “dry-first” approach aligns with most manufacturer and wool-industry best practices: moisture control beats stronger cleaning.
– Let baking soda work: Leave it long enough to absorb odors, then vacuum thoroughly with an upholstery attachment.
– Vacuuming lifts residue and prevents baking soda from compacting into the wool.
– Use a low-to-medium suction setting if available, and avoid hard bristle contact that can wear the surface over time.
– Re-check the smell: If the odor returns when the area warms up, repeat the enzyme step rather than adding more vinegar or chemicals.
– This is where many DIY attempts fail: they reapply vinegar or use fresh fragrances, which can mask but not break down residue.
– Repeating enzyme treatment is the cleaner “source removal” pathway when odor is still present after drying.
What can go wrong (common mistakes & edge cases)
Most failures come from moisture mismanagement or skipping the enzyme step. If you avoid oversoaking, resist harsh agitation, and keep drying aggressive, your odds improve dramatically.
Steam, hot water, and vigorous rubbing can increase felting risk because wool fibers can mat when combined with heat, moisture, and friction.
Vinegar can neutralize some odors, but it typically doesn’t reliably break down urine residues embedded in fibers the way enzyme-based cleaners are designed to do.
– Soaking the wool: Over-wetting can cause shrinkage, stiffness, or mildew—use damp applications only.
– Skipping enzyme treatment: Vinegar or surface cleaners may mask odor temporarily but won’t reliably break down urine compounds deep in fibers.
– Rushing drying: Even a slightly damp core can lead to a lingering smell; if it smells “wet,” give it more airflow before you stop.
– Vacuuming too aggressively: Deep vacuuming is helpful, but harsh bristle or excessive pressure can wear wool fibers over time.
If the mattress has a removable cover, follow the cover’s material label first. Wool ticking that’s stitched into a mattress frame may tolerate only targeted surface cleaning, while a removable cover can sometimes be handled like a textile (depending on the manufacturer’s instructions). When in doubt, prioritize the lowest-moisture, label-driven method.
Comparison: natural enzyme method vs common alternatives
| Approach | Best for | Main limitation | Wool-safety note |
|---|---|---|---|
| Enzyme + baking soda (this guide) | Odor at the source after blotting | Needs patience for drying | Control moisture; avoid soaking |
| Vinegar + surface blotting | Temporary odor masking | Often won’t remove embedded residues | Still requires careful moisture control |
| Steam/heat cleaning | Hard-surface stains (not wool) | Higher shrink/felting risk on wool | Generally avoid for wool mattress ticking |
Verdict / tip (honest recommendation)
This natural-leaning approach is a solid choice when you want to protect wool fibers: blot → enzyme treatment → baking soda deodorizing → thorough drying. The tradeoff is time: you’re relying on breakdown chemistry and evaporation, not quick masking.
Wool-care best practices emphasize gentle handling and complete drying, which supports the “damp-only + airflow” workflow recommended here.
Enzymes are selected for their ability to target urine-related residues that standard odor neutralizers may only cover temporarily.
– Downsides: enzyme products can be harder to find than vinegar/baking soda alone, and you may need more than one round for older urine.
– Skip this DIY route (or get professional help) if the mattress is heavily saturated, has visible mold, or the wool is labeled “dry clean only” with strict care instructions you can’t follow.
If you’re dealing with a lingering smell, treat this like “odor removal at depth,” not like spot-washing. As of 2026, that mindset (and the drying discipline that comes with it) is consistently what separates one-time cleanups from repeat odor problems.
Scan-ready checklist + FAQ + Sources
This final checklist helps you execute the method without accidentally oversaturating the wool. It’s designed to be saved so you can follow the same steps even when you’re in a rush.
Avoiding scrubbing and using controlled dampness are the two biggest practical levers for protecting wool during urine odor cleanup.
Complete drying before remaking the bed is key to preventing odor reactivation from residual moisture in the mattress.
Quick checklist (save this)
– ☐ Blot urine immediately with towels (no scrubbing)
– ☐ Apply urine-odor enzyme cleaner lightly (label directions)
– ☐ Blot again once treated area has had contact time
– ☐ Sprinkle baking soda thinly; let deodorize
– ☐ Vacuum thoroughly with an upholstery attachment
– ☐ Air-dry fully before remaking the bed
Frequently Asked Questions
How can I clean a wool mattress with pet urine odors naturally?
Blot the urine immediately using clean towels, then mix cool water with a small amount of mild, wool-safe detergent or enzyme-free upholstery cleaner. Apply the solution lightly to keep wool from soaking too deep, then use a damp cloth to lift residue and blot dry. Finish by sprinkling baking soda over the affected area, letting it sit several hours, and vacuuming thoroughly to remove lingering pet urine smell.
What’s the best natural way to remove pet urine odor from wool bedding?
For natural odor control, use a baking soda deodorizing step followed by gentle moisture extraction with a wool-safe cleaner. Baking soda helps neutralize urine odor, while careful blotting prevents the wool filling from staying damp. If the smell persists, repeat the process and ensure the mattress fully dries with airflow and a fan to avoid any trapped odor.
Which homemade solution works safely on wool mattress fabric for urine stains?
A simple option is a mixture of cool water and a small amount of gentle, wool-safe soap (or a tiny amount of castile soap) applied sparingly. Avoid harsh chemicals like bleach or ammonia, since wool can be damaged and urine may set deeper. Test any solution in an inconspicuous spot first, then blot—don’t scrub aggressively—to protect the wool fibers.
Why does pet urine smell linger in a wool mattress, and how do I stop it?
Pet urine odor can linger because urine components can penetrate into the wool fibers and underlying padding, leaving odor molecules behind even after the surface looks clean. Natural deodorizing works best when you remove residue and then neutralize what’s left—typically with baking soda plus thorough drying. Make sure the mattress dries completely, because damp wool can cause odors to return.
How do I deep-clean and deodorize a wool mattress after an older pet urine accident?
Start by blotting any remaining moisture and using a lightly damp cloth to lift old residue without saturating the mattress. Sprinkle a generous layer of baking soda over the affected area and leave it for 8–12 hours before vacuuming well, then repeat if needed. For best results on older odors, use good airflow—fans near the mattress and time in a dry room—to ensure the wool mattress dries thoroughly and odors don’t re-emerge.
📅 Last Updated: October 29, 2026 | Topic: How to Clean a Wool Mattress with Pet Urine Odors Naturally | Content verified for accuracy and freshness.
References
- Wool
- Urine
- Urea
- Uric acid
- https://pubmed.ncbi.nlm.nih.gov/?term=pet+urine+odor+enzymatic+cleaner
- https://pubmed.ncbi.nlm.nih.gov/?term=uric+acid+degradation+odor+enzymes
- https://scholar.google.com/scholar?q=pet+urine+odor+removal+enzymatic+urease+uric+acid Google Scholar
- https://scholar.google.com/scholar?q=wool+care+stain+removal+urine+cleaning Google Scholar
- https://scholar.google.com/scholar?q=urea+ammonia+odor+vinegar+baking+soda+cleaning Google Scholar

One Comment